How to configure your Opera desktop browser
Share


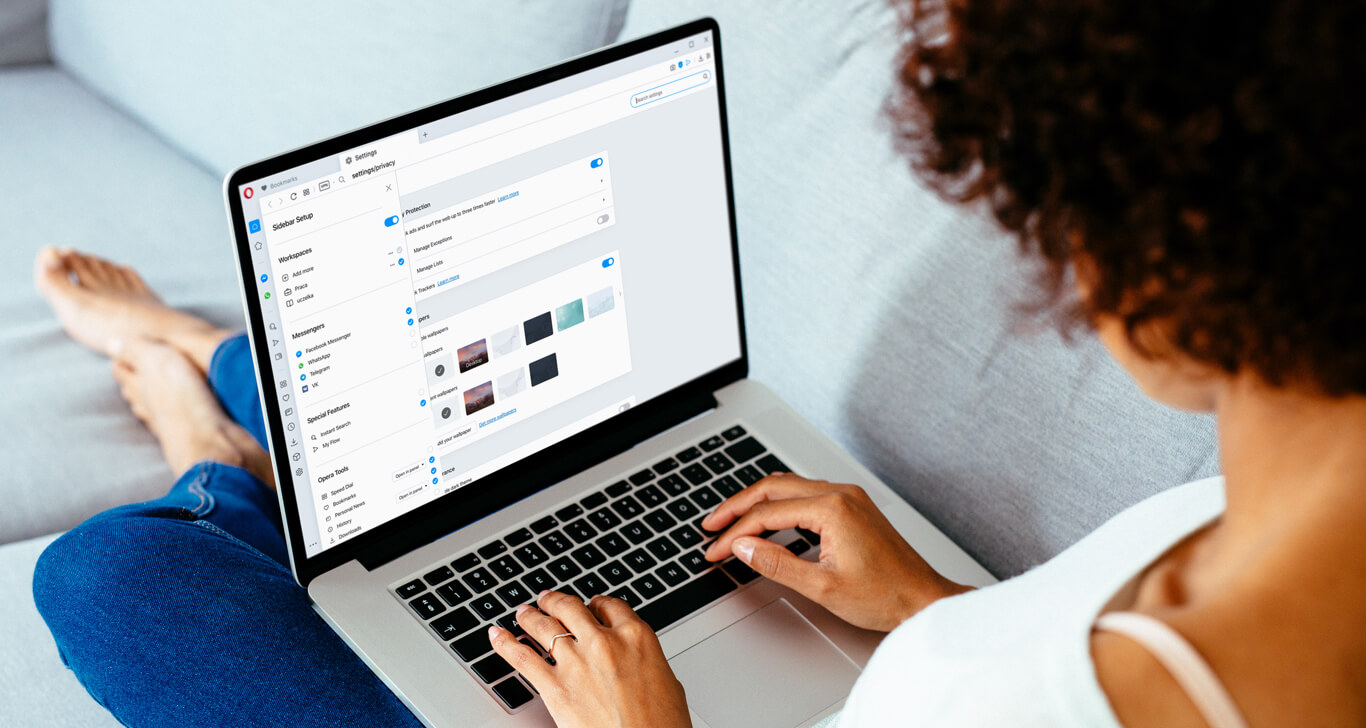
Starting with a new web browser can seem a little daunting at first. As a general rule, we humans do not like change. Millions of years of survival has taught us that if it’s not broken, don’t fix it. So we tend to stick with what we’re used to, even if it’s not ideal.
This setup walkthrough is for those who have decided to switch to Opera and would like a little help getting oriented. The following will help you set up your browser, configure your browser settings, and introduce you to some unique features and tools that are built into it. Even if you’ve been using Opera for a while, you’ll probably still discover some browser tweaks and tools that you weren’t aware of. So, without further ado, let’s get started with your browser setup.
There are three main places for configuring the Opera browser. If you plan to follow along, you’ll want to download Opera and locate these three things first.
Initial setup (first steps with new browser) checklist
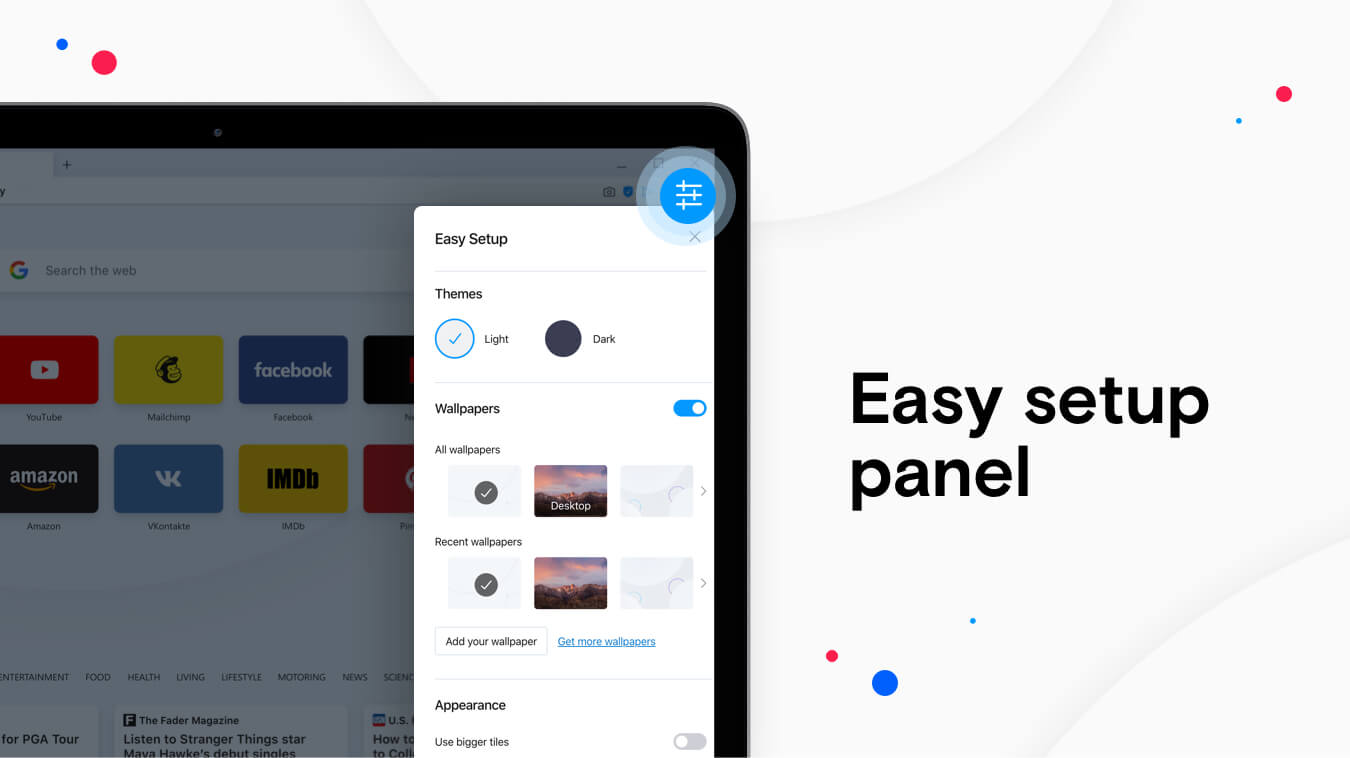
Easy setup panel (in the top-right)
This panel is for quick access to the most commonly-used tweaks.
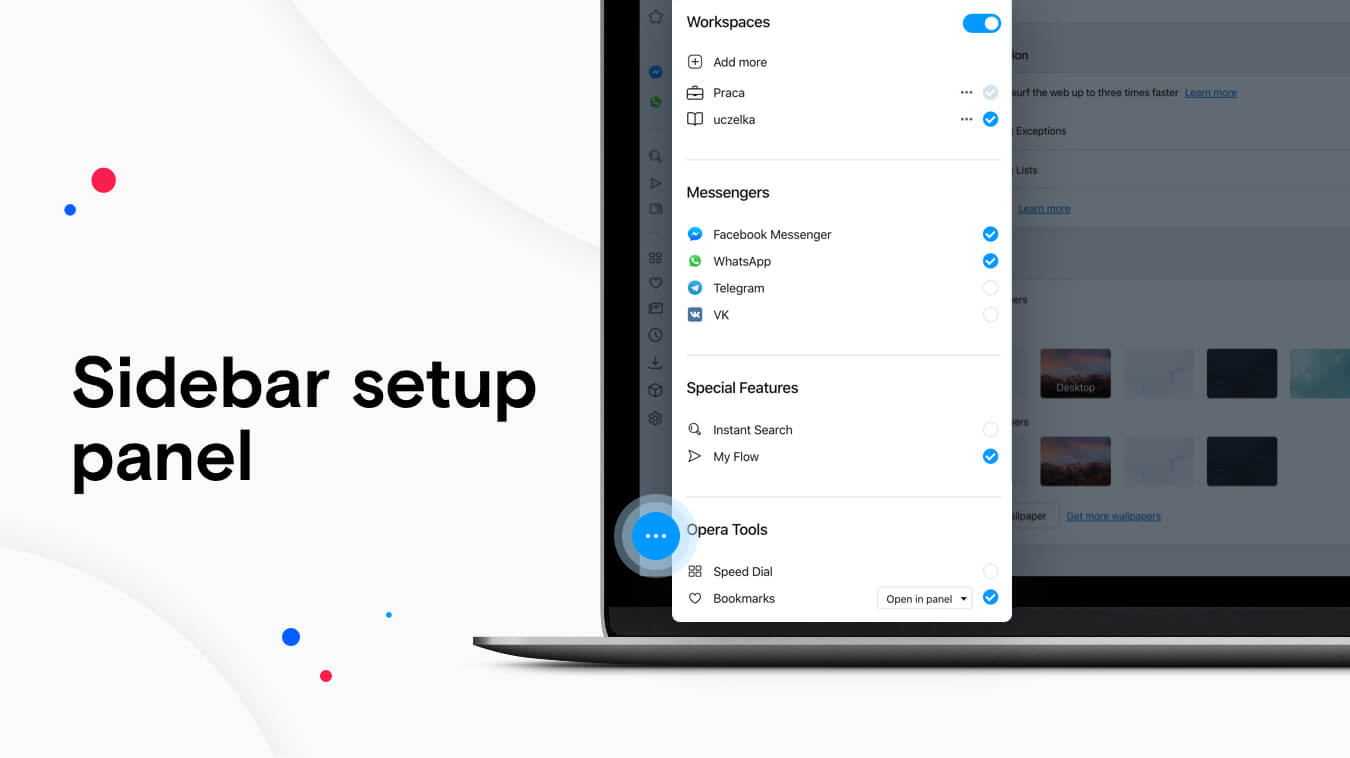
Sidebar setup panel (bottom of the sidebar)
This panel is for the Opera features & tools in the sidebar.
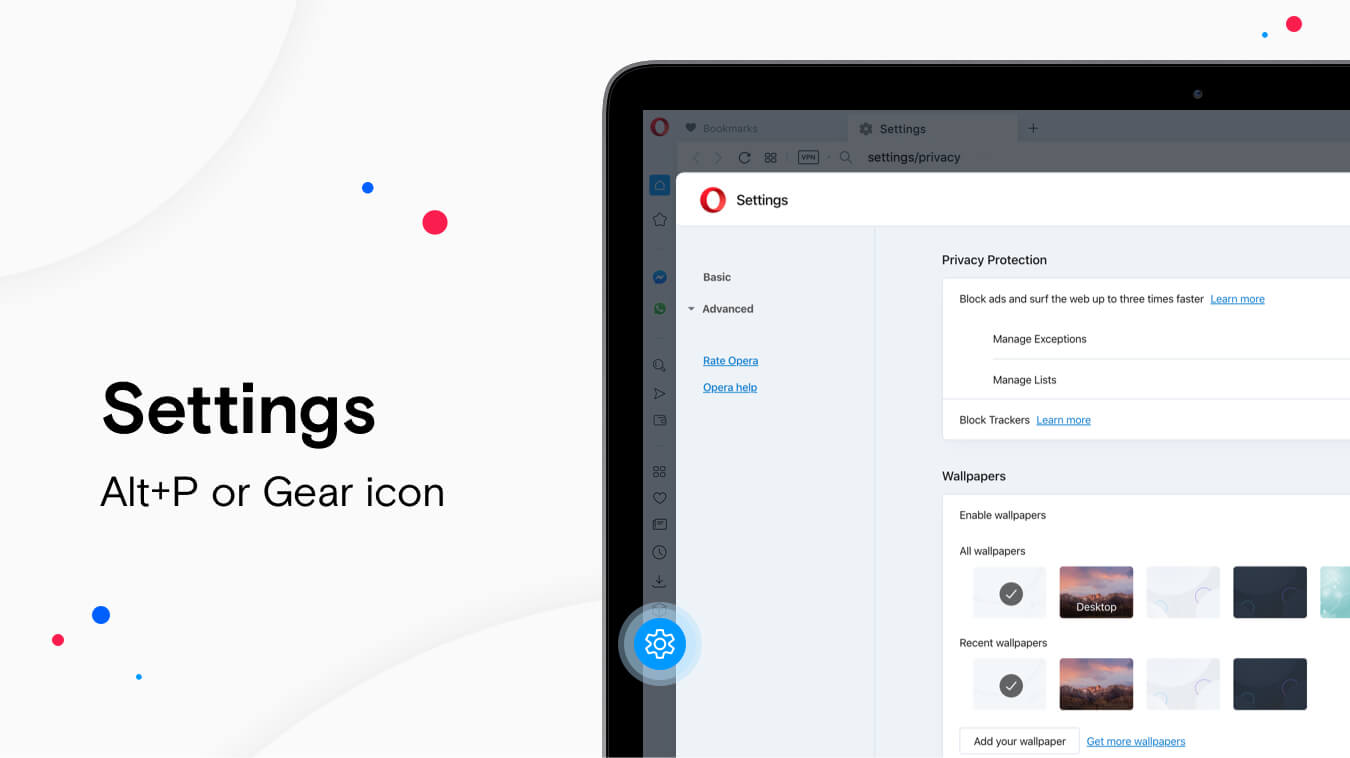
Settings (Alt+P) or (Gear icon in sidebar)
This is where you can configure the finer details, with Basic and Advanced sections.
Setup walkthrough
Below are four sections which focus on different aspects of configuring the Opera browser. We won’t go into every single setting and feature available, but after following this walkthrough you should be well-oriented.

1. Privacy & Security
Start in the Easy Setup Panel, which is in the top-right corner.
- Toggle on Block ads , which will also make pages load faster. You can manage Ad blocker’s exceptions and lists in Settings (Alt+P) under Privacy protection.
- Next, toggle on Block trackers. Exceptions and lists for the Tracker blocker can also be managed in Settings (Alt+P).
- Below that is VPN. Click the Enable in Settings button and you’ll be taken to Settings where you can toggle on Opera’s browser VPN. Once you enable it, a blue VPN badge will appear at the left end of your address bar. Click on that to see details and location options.
- Further down in the Easy Setup Panel, there’s a Clear browsing data button. Remember where it is and use it from time to time, because a clean browser is a secure browser. For more details, have a look at this article on clearing various types of data in the Opera browser.
Next, let’s go to Settings (Alt+P). When you first open your browser settings, you’ll be in the Basic settings section.
- Scroll down to Search engine. There you can change or add search engines, as well as manage shortcuts for using various search engines. For example, if your default browser is Google, but you want to search with DuckDuckGo, type the letter d in your search bar, followed by a space and your query.
Now you want to go to the Advanced settings section. Click Advanced at the bottom of the page, or in the top-left.
- In the first section, Privacy and security, you can enable or disable various options. Most of them are self-explanatory, but one that is worth highlighting is Site settings.
- Click Site settings, and try not to feel overwhelmed. This is where you can tweak all of the permission settings related to your browser. The default browser settings require sites to ask for your permission in most cases, but it’s a good idea to go through these one by one yourself, so that you can make sure you know what information sites have access to. For more details on these sections, visit the Web Preferences section of Opera’s Help page.
- Back in Settings > Advanced, under Autofill, you can add and manage information that is automatically filled into forms, like payment methods, addresses, names, and passwords. You will be asked if you want to save the information when you fill it in online. If you choose to save it, you can always delete it here later.
2. Cosmetics
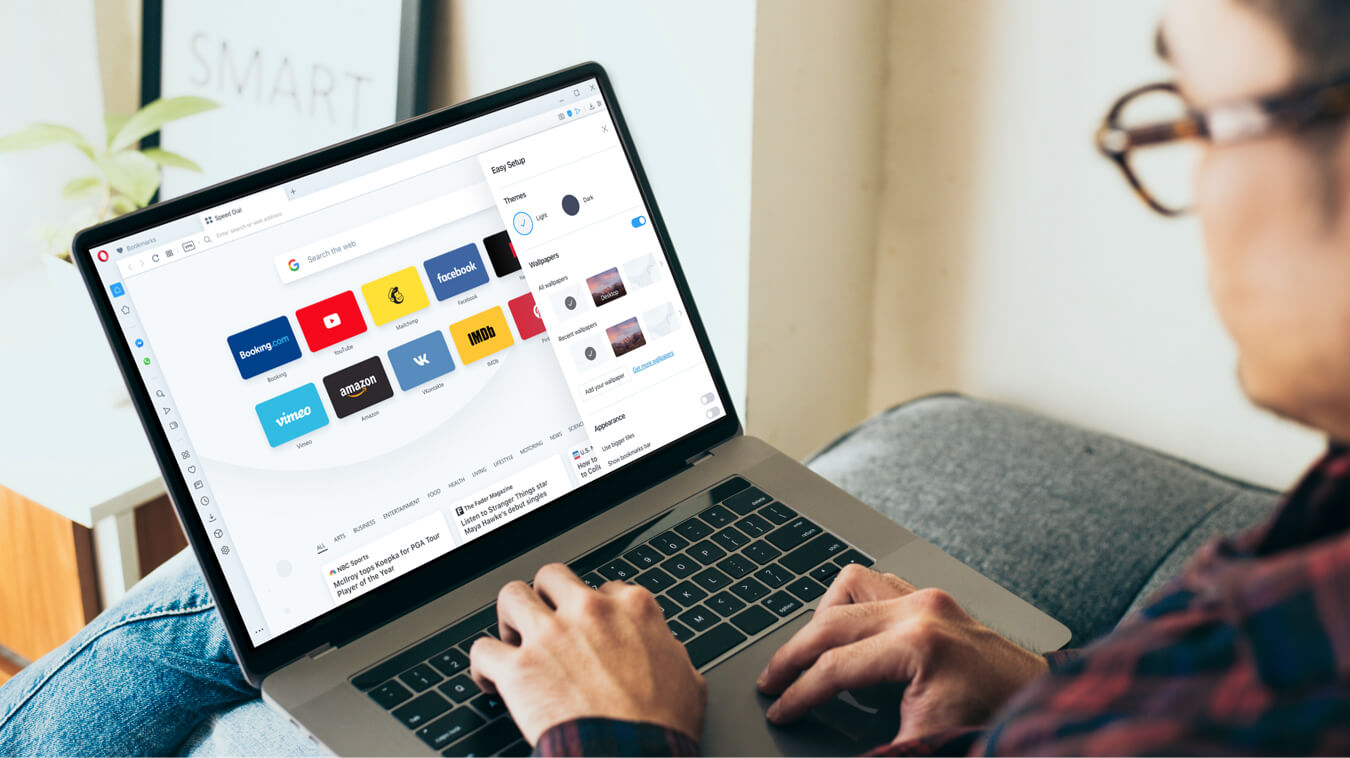
Go to the Easy Setup Panel again.
- Choose your Theme – Light or Dark.
- Enable Wallpapers for your Start Page (the first thing you see when you open your browser – we’ll get to that in a bit). Select a wallpaper or click Add your wallpaper to upload one from your computer. You can also right-click an image online and select Use image as wallpaper.
- Under Appearance, you can tweak your Start Page to have bigger tiles, Speed Dial suggestions (from sites you frequent), and News items.
- Toggle on (blue) Show sidebar to make sure the sidebar is visible.
- If you like the classic look of bookmarks at the top, under your address bar, toggle on Show bookmarks bar. However, you can have your bookmarks as Speed Dials on your Start Page, which we’ll talk about in the next section.
Go to Settings (Alt+P).
- Under Appearance, there are a few more options related to fonts and website display.

3. Putting everything where you want it
We’re still in Settings, which you can also get to from the Gear icon at the bottom of your sidebar.
- Scroll down to the bottom, to the On startup section. It should be on by default, but if not, I recommend you toggle on Display the start page first. That way, when you start your browser or open a new tab, you’ll first see your Speed Dials – visual thumbnails of your bookmarks, frequently-visited pages, and recommended pages. You can also choose to retain tabs from when you closed your browser, which is nice, or to start on a specific page.
- When you bookmark a page by clicking the Heart icon to the right of your address bar, you will be presented with options. You can rename the bookmark, select a thumbnail for it, and choose where it goes. I recommend you keep bookmarks on your Speed Dial, so they show up on your Start page.
- Still in Settings, click Advanced at the bottom or in the top-left, and scroll down to the Start page section. There you can enable or disable other options for your Start page.
- Below the Start page section, under User interface, it’s a good idea to toggle on Show tab previews. This way, when you have many tabs open, you can hover your mouse pointer over a tab and be shown a preview of that tab.
Go to the Easy Setup Panel.
- Under Downloads, click Change if you want to change the location of downloaded files.
- If you’ve switched to Opera from another web browser, and you want to keep your bookmarks or other data, click Import bookmarks and settings at the bottom of the Easy Setup Panel. You can choose which data you want to import, and which browser you want to import it from.
Next, let’s visit the Sidebar.
- Right-click the Sidebar and check, or uncheck, the items you want displayed there.
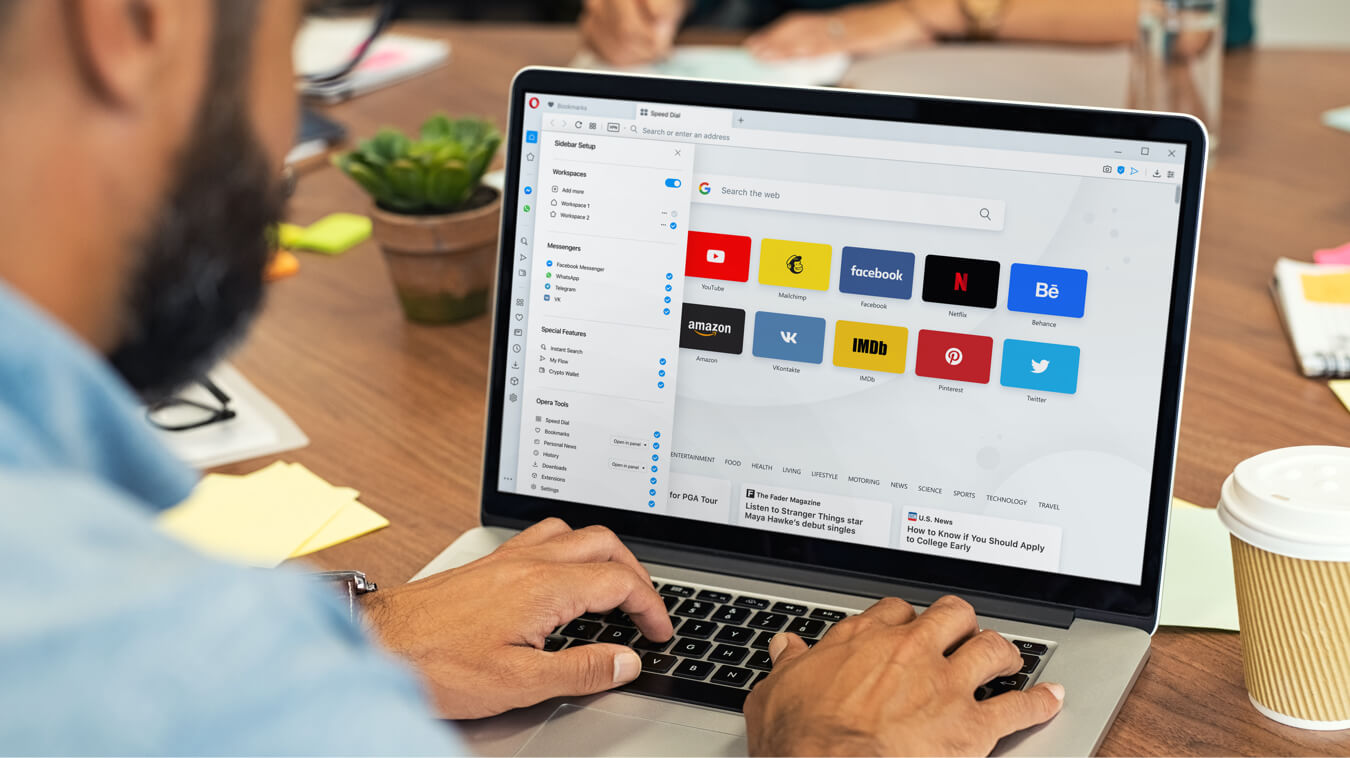
- Click the three-dot icon at the bottom of your sidebar to open the Sidebar Setup Panel. Here you can also select which items are on the Sidebar, as well as manage the details.
- In the Sidebar Setup Panel, under Sidebar extensions, you can select which of your extensions you want quick access to in your Sidebar. Read this article on using Chrome extensions in Opera if you’d like to learn more about them.
4. Convenience features
As you’ve been following this walkthrough, you have surely noticed many of Opera’s features for browser organization. Here’s how to get started with the ones you’ll find most useful as you begin using the Opera browser. For more details and instructions on these features, go to the Features page or the Features section on Opera’s Help page.
Workspaces
Workspaces are the icons at the top of your sidebar. It’s where you can group tabs for different contexts, like for work, browsing, entertainment, or whatever you want. It may seem superfluous, but once you start using it, you’ll love the benefit.
- Open the Sidebar Setup Panel by clicking the three-dot icon at the bottom of your sidebar, and make sure the Workspaces switch is on (blue).
- You can click Add more to add a workspace. Then, next to each workspace you can click the small three-dot icon to delete a workspace, change the icon, or rename it.
- To hide a workspace, click the blue check-mark. This won’t delete anything, just hide it.
- To move a tab to a different workspace, right-click on the tab at the top of your browser, select Move tab to workspace, and choose one.
- I highly recommend that you set hotkeys for your workspaces (I’ve set mine to 1, 2, 3, 4). To do so, go to Settings > Advanced, scroll down to Shortcuts, and click Configure shortcuts. In the middle search field, type workspace, mouse over the shortcut you want to change and click Type a shortcut. Then, type the shortcut you want to use for that workspace. Here’s another article about using shortcuts in Opera, if you’re interested.
Messengers
Opera has popular messengers built into the sidebar, which makes messaging while browsing more convenient.
- Open the Sidebar Setup Panel from the three-dot icon at the bottom of your sidebar, and make sure the messenger you want to use is checked (blue).
- Click the messenger icon in your sidebar and it will open in a panel. Sign in or follow the instructions and you’re good to go.
- If you’re messaging while browsing, you can click the pin icon in the top-right of the panel. This will divide your window between the messenger and your browser. Click the edge to resize your messenger panel.
Snapshot
Snapshot is a screenshot/snipping/editing tool that works within your web browser. Super-useful if you want to snip and paste things into your messengers, or if you want to make memes.
- Use Ctrl+Shift+5 to open it. Press Esc if you change your mind. If you want, you can change the shortcut like we did in workspaces above.
Flow
Flow lets you connect your Opera browsers to share information and files between devices, like your phone, tablet, and various computers. You don’t need an account or password for this secure connection.
- Make sure My Flow is enabled in your Sidebar, then click the My Flow icon (it looks like a paper airplane).
- Follow the instructions, which involve scanning a QR code with your other device’s Opera browser.
- To send files, links, images, notes, and videos between your devices, click the My Flow icon in your sidebar. Type a note, click the upload button, or paste something. You can also use the My Flow icon next to your address bar, as well as highlight or right-click something and select Send to My Flow.
Tab-cycler (Ctrl+Tab)
The Tab-cycler lets you cycle through a quick thumbnail display of your open tabs, by the order of most recently used.
- Hold down Ctrl and click Tab repeatedly to cycle through tabs in your current workspace. Release Ctrl to go to the highlighted tab.
Search in Tabs (Ctrl+space)
Search through your open tabs by typing keywords, for those of us with too many tabs.
- Press Ctrl+space to summon the search field. Type keywords to search titles and descriptions for the tab you want. The list updates as you type.
Search pop-up & Unit converters
Highlight text on a page by clicking and dragging. A pop-up will appear with options to search online for the highlighted text, copy it, or send it as a note on Flow so that it’s available on your other devices. If you highlight a measurement, time, or monetary amount, it will be converted to your preferences in the pop-up. To set your conversions:
- Go to Settings (Alt+P), click Advanced, followed by Features. Scroll down to Search pop-up.
- Toggle on the things you want converted, based on your region. Select the currency you would like prices to be converted to.
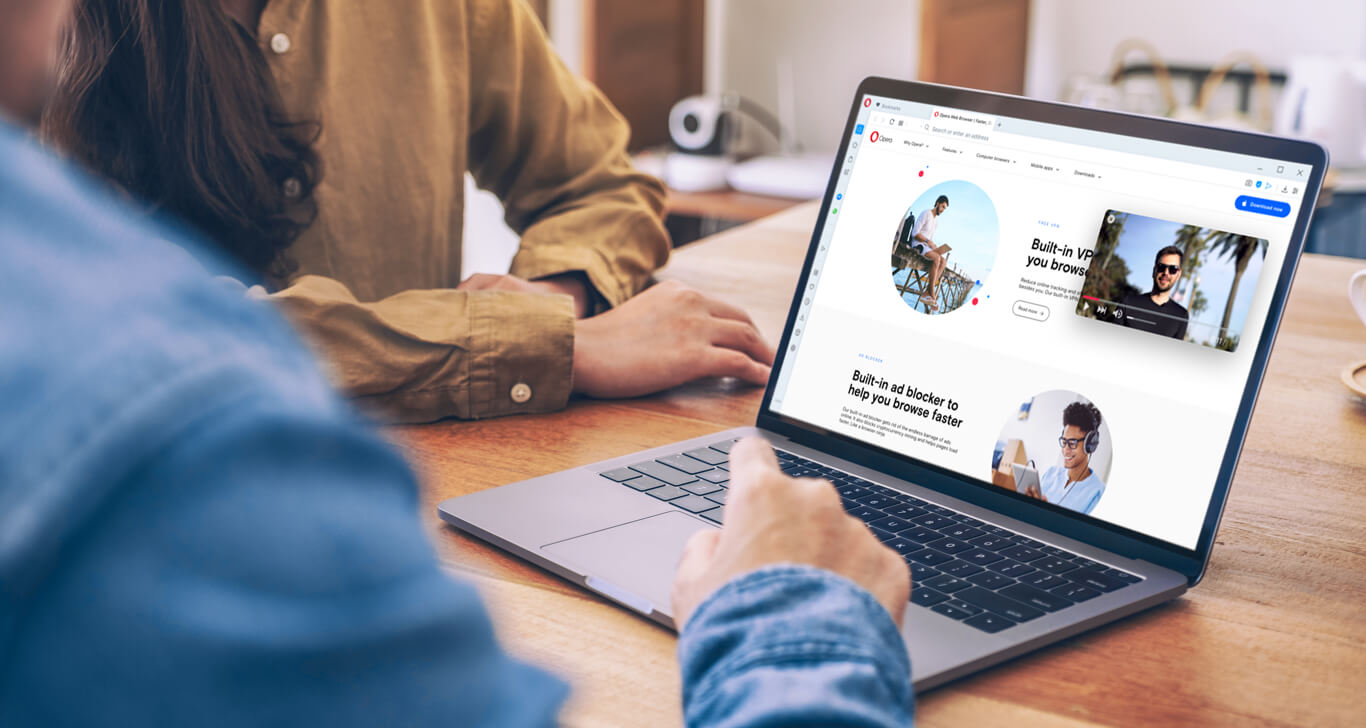
Video pop-out
When you watch a video online, Video pop-out lets you detach the video from the page so that it’s in a floating window. The window hovers over whichever tab or program you use, and can be moved or resized letting you continue to watch while browsing. This feature should be on by default, but to make sure:
- Go to Settings (Alt+P), click Advanced, followed by Features. Scroll down to Video pop-out. Toggle it on (blue).
- To use it, just go to an online video, like on YouTube, and click the Video pop-out button in the top-center of the video.

That’s all folks
If you’ve made it all the way through – Congrats! You have a shiny new Opera browser tweaked to your liking, as well as some features to play with. I hope this browser configuration walkthrough has been helpful for setting up and getting to know the Opera browser. Now, start browsing!

User comments

You deserve
a better browser
Faster, safer and smarter than default browsers. Fully-featured for privacy, security, and so much more.


You deserve a better browser
Opera's free VPN, Ad blocker, and Flow file sharing. Just a few of the must-have features built into Opera for faster, smoother and distraction-free browsing designed to improve your online experience.